How to Make Rice Wine
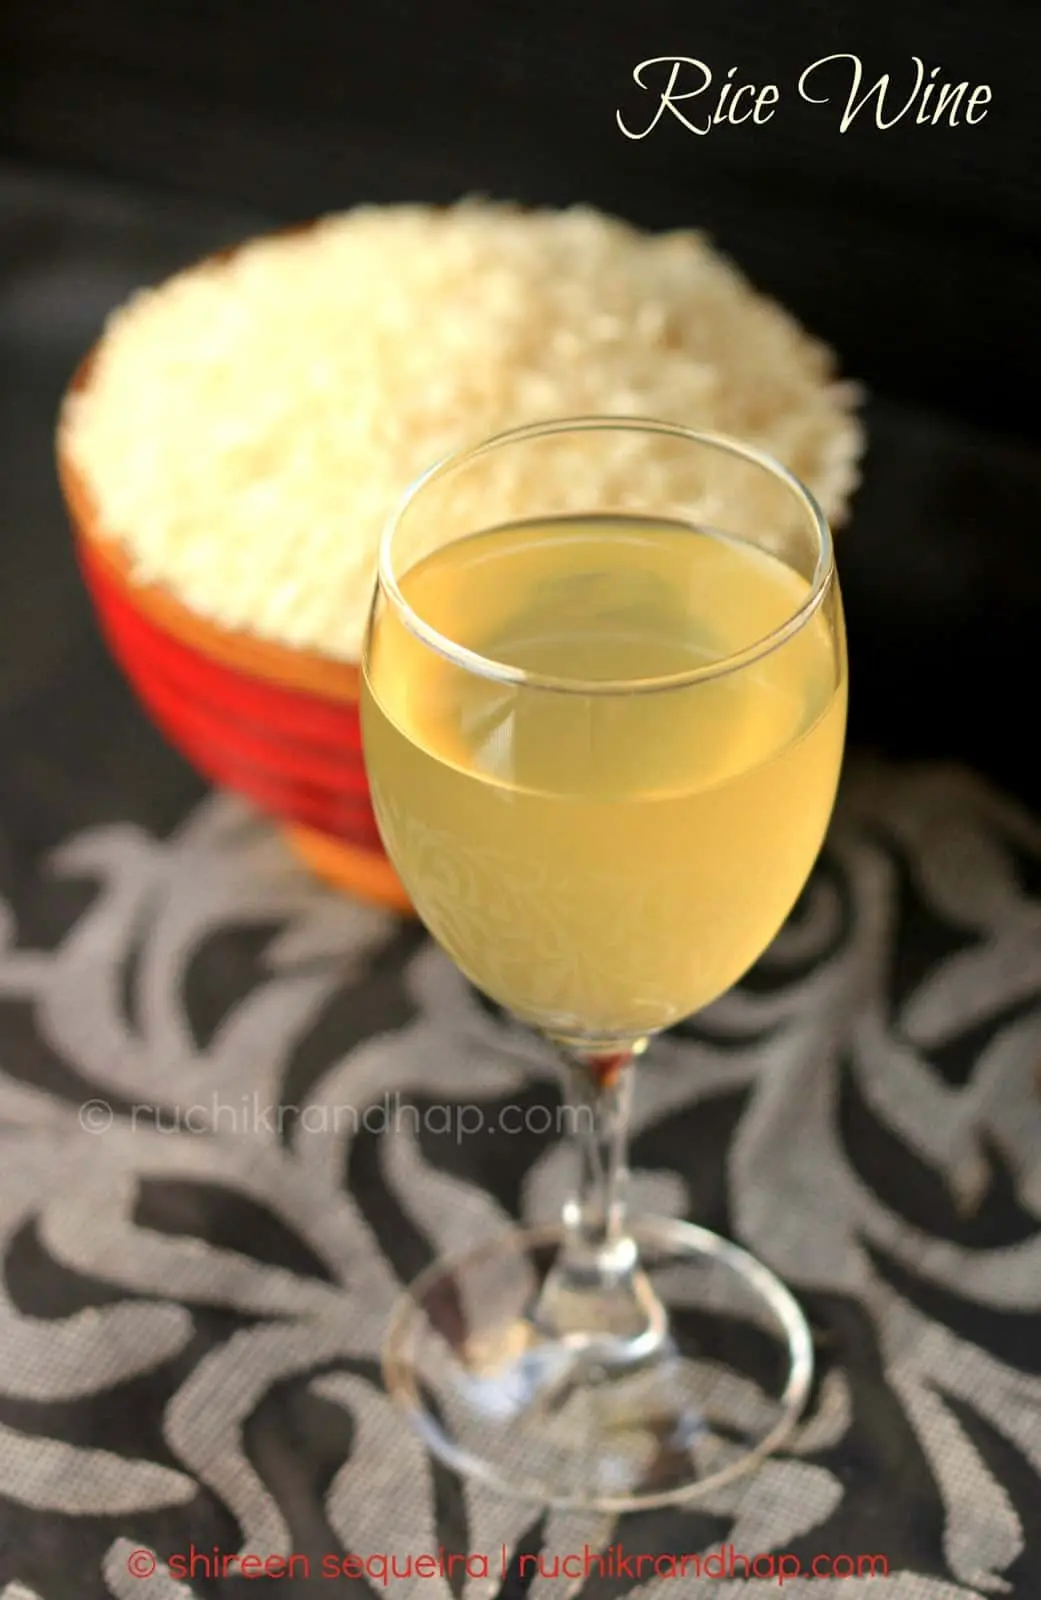
Rice wine is an alcoholic beverage fermented and distilled from rice, it is known for its strong, unique taste, traditionally consumed in East Asia, Southeast Asia and South Asia, it typically has an alcohol content of 18–25% ABV.
Making rice wine involves only two ingredients and a good amount of patience as it ferments from starch and then converts to sugar, then after, You will be rewarded with a wine that is as delicious as it is versatile. Microbes are the source of the enzymes that convert the starches to sugar.
Rice wines are used in Asian gastronomy at formal dinners and banquets and in cooking. They are also used in a religious and ceremonial context.
Wiki How shows us a step by step method, with illustrations, on how to make a rice wine
Ingredients
2 cups (24 ounces) sticky or glutinous rice
wine yeast ball (also called qu, jiuqu or chiuyao in Mandarin)
Part 1: Cooking the Rice

 2. Soak the rice for an hour. After rinsing, soak your rice in hot water for about an hour, as sticky rice cooks better after it has been soaked. Then use a strainer or sieve to strain the rice and remove the water.
 3. Boil water in the bottom of a steamer. Pour around two cups of water in the bottom of a steamer. Bring the water to a boil. If you don’t have a steamer, you can simply boil water in a medium sized pot
 4. Steam the rice. After the water begins to boil, place the rice in the top compartment of a steamer and let it steam for around 25 minutes.
- If you don’t have a steamer, place the sieve of rice above the boiling water, making sure that the rice doesn’t touch the boiling water. Cover the top of the sieve with a pot lid and steam for 25 minutes.
 5. Check that the rice has finished steaming. After 25 minutes, take off the lid of the steamer and taste the rice. If it is still hard or slightly crunchy, use a spoon to flip the rice over and let it steam more, checking every five minutes or so to see if it’s done. Once the rice has finished steaming, remove it from the heat.
 6. Spread the rice on a cooking sheet. After the rice has finished steaming, spoon it out onto a cooking sheet and spread it in a thin layer to help it cool. It’s essential to let the rice cool before beginning the fermentation process, and spreading the rice helps it to lose heat more rapidly.
Part 2: Beginning Fermentation
 1. Crush the yeast ball. Take the yeast ball and place it in a small bowl. Use a pestle or the bottom of a large spoon to crush the yeast ball. Break apart the ball until it has become a fine powder.
 2. Combine the yeast powder and the rice. After you have finished crushing the yeast, sprinkle it evenly over the rice. Toss using your hands or a spoon to integrate and combine the yeast with the rice.
- Make sure that the rice has cooled and is just slightly warmer than room temperature.
 3. Place the rice in an airtight container. After you have mixed the yeast and the rice, it’s time to start the process of storing and fermenting the rice! Place the rice in an airtight container, or several airtight containers depending on the size of the containers you are using.
 4. Store the rice in a warm place. Do your best to keep the rice warm for a few days. You can keep the container of rice in the oven on low heat (100 degrees F or 37.7 degrees C), or simply place a heating pad around the jar. The heat helps to encourage the process of fermentation.
Part 3: Testing and Straining the Rice Wine
 1. Taste the wine after a few days. After a few days, you should notice liquid is accumulating at the bottom of the container. This is the rice wine. The wine is ready to drink as soon as it forms, so you can try the wine as soon as you see it accumulating.
- If you like the taste, pour out the liquid from the container and keep the rice mixture inside. You can use the small amount of wine you made in recipes, or simply drink it by itself.
- The taste of the wine changes the longer it ferments. When the wine first appears at the bottom of the container, it will taste fruity and slightly zingy. As you let the wine ferment, it becomes less effervescent and more sweet and smooth.
 2. Let the wine ferment for at least a month. Store the rice in a warm and dry place for around a month. You don’t need to keep it in the oven or in the heating pad past a few days, as long as the weather is warm or you store it in a relatively warm place in your house.
- You will notice that the longer you ferment your wine, the clearer and less cloudy it will become.
 3. Strain the rice mixture. After a month, the fermentation process will be complete. Use a piece of cheesecloth or a very fine strainer to strain the wine, and collect the liquid in a jar or container. This will get rid of any excess rice grains or hulls still in your fermentation container.
- You can drink or use your rice wine as soon as you wish, so if you want to enjoy it as soon as you strain it, you can do so!
 4. Place the container of rice wine in the refrigerator. After you have poured the rice wine into a container, seal the top and place it in the refrigerator. Although you can drink rice wine at room temperature, always store it in the fridge, as this will help it to last longer.
 5. Pour off the clarified wine and enjoy. A few days after you put it in the refrigerator, you should notice that a layer of sediment forms at the bottom of the wine container. It is not necessary to remove this sediment, but some choose to do so to improve the appearance of the wine and make the texture of the liquid more uniform.
- If you wish, pour the clarified wine out of the container and leave the sediment on the bottom behind. Then pour the sediment down the sink and pour the clarified wine back into the container.
 6. Enjoy your wine. Use your wine in cooking, drink it by itself, or keep it in the fridge to alter and mature the flavor! Don’t worry if you see the wine becoming darker the longer you age it; this is perfectly normal. Use the wine in savory dishes, desserts, or enjoy a glassful for a delicious departure from the usual grape-based wine.
Discover more from The Finest Italian Wine
Subscribe to get the latest posts sent to your email.